Showing posts with label Eli Cooks. Show all posts

Friday, April 24, 2015

A year of matzah

Last year, a conversation on Pesach led to me and two friends realizing we didn't really understand what chametz and matzah are. So we spent a year learning the classical Jewish sources (along with some modern scientific/cooking/brewing sources) and baking many, many practice batches of matzah. We also spoke with people who have baked matzah and I visited a few professional matzah bakeries. The year culminated with us baking our own matzah during the afternoon on Erev Pesach (Eve of Passover).

We needed an oven:
The oven is lined with firebricks (purchased from a local masonry supply store), and was pre-heated to its highest running temperature for a few hours before baking.

We needed flour:
We purchased an 80lb sack of shmurah flour (the smallest they sell) from a matzah bakery in Brooklyn. This picture shows the sack, and some pre-weighed portions of flour for a bunch of matzah batches.

We needed water. Unfortunately, I forgot to photo-document the process of setting aside water to cool overnight. We filled a 5 gallon, empty water cooler water bottle with water, so this picture can serve as an illustration:
This amount of water is enough to bake the entire 80lb sack of flour (which we didn't do), but we figured better to be safe than sorry, so we wouldn't run out of overnight-chilled water. We poured off a small pitcher's worth from the giant thing to bring upstairs from the basement just before baking, and weighed off appropriate amounts of water before each batch.

This is not the place for an extended summary of all the special processes and procedures we went through (feel free to contact me if you want more detailed info), so let's cut to the chase and show the baking!
This is the beginning of the process. The dough is mixed and kneaded in a bowl, and further kneaded by hand until the flour is fully hydrated. For modern, cracker style matzot, the dough is very dry so that it doesn't stick to the rollers (45% hydration, baker's percentage) and it takes a lot of work to get it together. Borrowing a technique we saw in professional bakeries, we used a rolling pin as a lever to gain some mechanical advantage when kneading by hand. For softer, thicker matzot, where there is less rolling required, the hydration level is slightly higher (50%), but it still takes some effort to get it to form a fully-hydrated, cohesive dough.

We then split off into pieces for individual matzot, while consistently kneading the remaining hunk of dough.
To dock the matzot so they don't puff up with steam during baking, we used plastic forks. You may note the person in the left of the picture holding a book -- when you bake Erev Pesach you sing Hallel while baking!

After each (18 minute) batch we sanded the rollers, and disposed of all surfaces that came in contact with the dough (bowls, plastic tablecloth, etc.). In big bakeries they use washable bowls, but we were only doing a few batches, so it was easier to just go with disposable.

Here are the completed matzot, in a box for hafrashat challah.

And, finally, here is our seder table, with the matzah cover Stacy had embroidered:
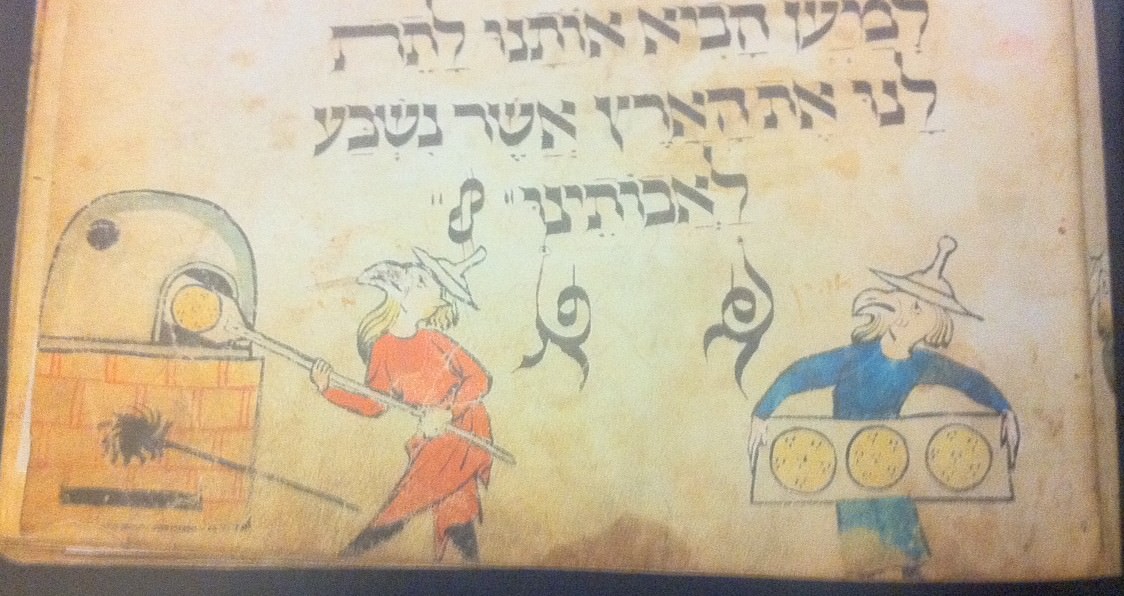
I particularly liked the pattern on the covers, since it reminded me of the way people used to dock their matzot in the middle ages.

A brief note about baking on Erev Pesach. This is a crazy day under the best of circumstances and this was the first year we were making our own seder. Although each batch took at most 18 minutes, the whole process took longer than expected, which is not ideal when you still have a giant list of things to do before the holiday. So, the timing wasn't such a win, but I found the experience of baking my own matzot on Erev Pesach very meaningful. And, since most people do not bake their matzot at this time (some sources try to put a positive spin on this, but others point out that it's likely because of the Erev Pesach crazy timing), we won't be doing the Erev Pesach baking next year (although we will likely still bake our own). But, I'm very glad I did this at least once.

Thursday, December 25, 2014

Sous vide duck

I recently upgraded from my DIY sous vide controller to a Anova One sous immersion circulator. While my old rig was good, it was too much hassle to set it up every time so I wasn't cooking sous vide as often as I would have liked. Since getting the Anova I've been cooking sous vide way more often. Most recently, I cooked duck sous vide (for why, see Stacy's blog post here).

Unfortunately, I'm low on pictures, but in short, I broke down the duck into parts and cooked each part differently. Stacy made a soup with the bones. I sous vided the breast, skin on, to medium rare (54C/129F), then seared it skin-side-down in a pan to crisp the skin. No pictures of this, since we ate it Friday night. I served it with an orange sauce made with reduced orange juice, orange rind, sugar and triple sec.

I deskinned and cured the legs and thighs overnight using a dry cure of salt, coriander, black pepper, and dried thyme. Then, I cut up the skin and rendered out the fat, and made gribenes from the skin. After the overnight cure (~10hrs), I rinsed off the cure and vacuum bagged the legs and thighs with some rendered duck fat, fresh thyme and orange zest, and cooked them sous vide for approximately 25 hours at 65C/149F.

I pulled it off the bone, and served it warm, on a salad of arugula, red onion, and mandarin oranges, with a dressing made with the orange sauce from the previous night, rice wine vinegar and olive oil, and topped with gribenes "croutons":

Thursday, May 02, 2013

Sous vide burgers

Quick on the heels of upgrading my sous vide controller last week, this past Sunday we had some friends over for a "barbecue" where I made sous vide burgers. The recipe was "simple," it only had two ingredients:
  1. grind up a bunch of meat (sorry, didn't take any pictures of this)
  2. add an amount of salt equal to 0.8% times the weight of the meat
  3. shape into 160g patties, seal in bags (with about a teaspoon of oil [fine, three ingredients]) using the water-displacement method, and let sit in the fridge for an hour
  4. cook sous vide at 131F (55C) until burgers reach a core temperature of 129F (54C)
  5. sear on grill or with blowtorch
  6. eat!
Here are all the burgers cooking:

Although it looks like the temperature is actually 2.2 degrees too hot, I haven't fixed the offset on the PID yet. It's actually at 55C.

The final result, perfectly medium-rare through and through, on a bun with mustard, tomato paste and vidalia onion: