Sunday, January 30, 2011

The trick to getting the most out of your toothpaste

Getting the last drop of toothpaste out can be a breeze if you just follow this one easy trick. You can get your toothpaste container to look like the emaciated tube shown without any gadgets, any effort, or any time!


Before closing the lid, squeeze all the air out of the tube. This will push the paste right up to the edge of the cap as shown in the image.

Amazing! But how does it work?
Well the way that monkeys squeeze toothpaste is with their hands and fingers. The problem with that is they can only squeeze hard on one part at a time- the paste will leave the spot under your finger and move around it. Then when you let go, or squeeze another spot - the paste goes right back.
Instead of this frustrating method, I use air pressure to squeeze every inch of the tube all at the same time, and all day long! When you close it, there is a small amount of tension created by the reinforced circular bit near the lid. This tension creates a small low-pressure area directly under the cap. The atmospheric air pressure then squeezes the whole tube and pushes any free liquid up into the cap area. This happens constantly, whenever the lid is closed. If you make this a new habit then you won't have to squeeze at all until almost all of the paste is gone.

Once you get nearer to the last drops, pull on each end (it will feel like you are stretching the tube apart) for about 2 seconds, with the cap still on. That should suck enough paste into the cap region to temporarily relieve any pressure and allow you to easily squeeze out some paste and re-cap in the right condition.


How do fools solve this problem?
Now its time for me to rant. It turns out that most frugal people find this task really difficult, lots of people have talked about it, some have written poems about it but there are only four ways that people suggest
  • The caveman method: Push and squeeze with table corners, books, rocks and fingers.
  • The spoiled kid method: Purchase a moronic tool to help you caveman it, there are loads of them out there.
  • The nerdy method: Design some "brilliant" contraption to get it out.
  • The OCD method: Cut the tube in half and wipe every last molecule off (perhaps by licking it - then quickly brushing your teeth before swallowing.
Out of all these methods, only the Obsessive Compulsive Disorder strategy works better than mine, but the downside is that you need to be OCD to actually feel like carrying it out.

One more word on the scope of this problem:
consumer reports says that people leave about 1-13% of it in the bottle when they throw it out.
They actually recommend all the silly methods above:
"Squeeze or bend tube as best you can, pull it over a counter's edge, or use a toothpaste squeezer, about $3."
--- Consumer Reports
Conclusion
I would like to give a name to this new method of getting all the paste out:
  • Paste Pressure Pusher
Feel free to comment if you are going to give this a try, have seen this done before, or have other ideas for names.

Thursday, January 27, 2011

Building a cold smoker, Part 2 -- Making Smoke for Food

This is Part 2 of a jointly-authored post by Aryeh and Eli.
See Part 1 of this project on Tuesday’s post.

After completing all the component parts of the contraption, it was time to take it outside and fire it up!  We connected the hot and cold boxes using a 4” diameter flexible metal duct, attached to the takeoffs with worm-gear hose clamps.

To generate the smoke, we used a cheap electric burner with a cheap cast-iron skillet. Putting wood chunks in the hot pan caused them to burn, making the smoke.

The burner was turned on to the highest heat and we added hickory chunks to the pan.  Shortly thereafter came the wonderful smell of Magic Smoke.  But the smell was faint and was quickly replaced by the lovely smell of hickory smoke.

The fan worked like a charm, and as soon as we started getting smoke in the hot box, it was piped into the cold box.

We checked (and monitored) the temperatures in each box. The hot box generally ran between 100-200F (depending on when the tape holding the fan’s wires froze, so it got disconnected from the battery),
and the cold box never got above 50F.

We decided to test the smoker with a small piece of mozzarella stick cheese.  We let it go for a half hour, during which time Eli added some mesquite, because he got bored.  The piece was yummy, with a nice smoky flavor.  So we decided to put in a big block of the really good mozzarella. The block of cheese was put into one of those little bags that onions come in
and hung from the hook at the top of the box.
We left the cheese in the box for 2 hours.  Additionally, Eli added a bowl of honey on the bottom of the box.  The resulting cheese and honey were fantastic!

The next foods to take a dose of smoke include more cheese and lemons. I [Eli] think I’m going to try cherry or apple wood next, for a milder smoke flavor.  And then, it’s salmon, lamb, beef...

Tuesday, January 25, 2011

Building a cold smoker, Part 1 -- Construction of the Parts

This is Part 1 of a jointly-authored post by Aryeh and Eli.
I’ve [Eli] been thinking about building a cold smoker for a while.  A cold smoker is a food preparation device to smoke foods at low (<90F) temperatures. This process is used in making lox, bacon, and lots of other foods. The basic principle is that you have a “hot box” where you generate the smoke, and a “cold box” where you place the food. You then connect the two together with ducting so the smoke has time to cool off.

Recently my [Eli’s] lab purchased a really expensive piece of scientific equipment which came in nice wooden crates. I decided these crates would be perfect boxes making the smoker.  Aryeh came over for the weekend, so we built the smoker together. The first thing we needed to do was modify the crate to make it into the “cold box”.

The crate originally had a screw-on lid, which we wanted to convert to a door, and we wanted to seal off the door so smoke wouldn’t escape to quickly.  For that, we used a strip of nail-on nylon weather stripping, which we nailed around the edge of the lid.
And, to make it into a door, we attached hinges.  Unfortunately, we forget to check the region under the hinges, so we drilled out holes for the protruding screws.

To complete the door we attached two latches to the other side of the door to hold it closed.

We had a 4” ducting “take-off” to connect the flexible ducting to the inlet of the cold side of the smoker.  However, we did not have a  4” hole saw.  In fact we had no hole saws or jig saws at all (as a side note, this sounds like the start of a Doctor Sues book).  So we decided that we where going to drill lots of little holes and then punch out the middle section.  We marked the center point of the hole, and then using some paracord  that I [Aryeh] had on me (yes, I do carry a length of paracord with me, its amazing stuff that I [Aryeh] will post about at a future date) we created a simple compass and marked a circle with a diameter of 4”.

We then drilled lots of holes.
However the wood was ⅜” thick and would not punch out easily.  So we drilled holes farther into the circle but in-between the outside holes.

This allowed us to get the hole.  However, we where still far from done.  The hole was very imprecise and we needed to clean the edges up.  This was accomplished with a smaller drill bit, an ancient hand saw and a grind wheel for the drill.  This was a huge pain in the neck, and we should’ve just bought the stinkin’ hole saw!

We wrapped this up with a little U-bolt and S-hook to hang food from, and the cold box was complete!

For the hot box, we modified a version of Alton Brown’s cardboard smoker.  The major difference with our box was that we needed to get the smoke out of the box, and into the larger crate.  Another 4” takeoff would allow us to attach the duct, but we still needed to get the smoke out.

 
To accomplish this, we attached a little DC fan, much like those found inside computers, on the outside of the box with two bolts. The fan was oriented to force [cold!] outside air into the box, creating positive pressure, cooling and forcing the smoke out of the hot box and down the duct. We connected the fan to a dying 9V battery (fan is rated for 5V, hence the dying battery) taped to the side of the box.

We then cut a little door to have access to the burner and made a nifty handle out of a bolt and two nuts.

Stay tuned for Thursday, where we show how to put it all together and make some lovely smoke!

Saturday, January 22, 2011

Toilet Paper Roll Orientation

I recently attended a birthday party for Wikipedia, which turns ten years old this year. At the party people asked - were you ever surprised to find that a topic has an article on wikipedia about it.
I thought back to the days when I was surprised to find out all the details of how lightsabers work. Those days are long gone though and now I am no longer surprised about the existence of wikipedia articles ... or so I thought. Somebody mentioned an article about Toilet paper orientation, the choice of letting the paper hang down on the toilet side, or up against the wall. I was surprised as well to find that that page is many times longer than the one on toilet paper itself. It has no less than 128 notes, pages of references and even a "further reading" section (in case you wanted to do some more research). It also lists all the notable people with public opinions on the matter.

Just in case I ever become notable, let the record state that I am very much from the "over" camp, but I respect the opinions of the "under" crowd. The reason I feel this way is just because that is the way my family traditionally sets up the TP. But which side of the family is this tradition from?

Lansey and Gellis family members and any other readers out there, please comment! Lets get to the bottom of this, do you orient your toilet paper hanging over or under the roll?

Thursday, January 20, 2011

The missing link

In Yoni's survey of international urinals, he commented on the aquas super genus of urinals. In my comments on that post, I noted how that particular urinal was a member of an increasing rare order of urinalas vulgaris, a.k.a. "pee walls."  These urinals are essentially porcelain or tile walls with a single drain down at one edge (see a great example here [link]).  Although that particular specimen Yoni documented was sporting trendy "privacy barriers," which is unusual for a urinal of that age, and had a larger tile pattern, studying the drain structure and general layout, it's clear that it's a member of the older vulgaris order.

Experts in the field of urinalogeny have long been searching for the evolutionary pathway between these simpler pee walls and the more complex, individual modern urinal.  I believe that I'm the first to document a missing link in this evolutionary chain, discovered in a basement bathroom in a wedding hall in Crown Heights, Brooklyn:
This is a staggeringly exciting specimen. Here we see that these urinals have the floor-level drains
and tiled structure of their vulgaris brethren.  However, they have each evolved their own flush mechanism and drain! Also, note the existence of the modern symbiote crustum urinalas (urinal cakes), which are not compatible with the pee wall class.  I would therefore like to name this urinal the urinales pseudovulgaris (but I am open to other ideas).

Furthermore, it's possible that the barriers seen in the British specimen actually are early versions of the full-length dividers seen here, and not, as I previously suspected, privacy barriers, which are generally a modern evolutionary trait.  Thus, it seems that urinals started growing the dividers from their upper regions, where there is no demand for complicated individual draining systems. Perhaps tile grout (gloopus tilum) was actually incorporated into the urinal species itself (an endosymbiosis)?

These extensions gradually descended downwards, while the lower trough-type drain closed in on itself to form a pipe and individual drain openings. Then, to get our modern urinals, the individual tiles merely needed to separate and shrink upwards, while allowing their underground pipe connections to stretch.

This theory also helps explain urinal reproduction.  The tiled structure of pee walls points to binary fission as the likely mechanism.  However, this evolutionary pathway suggests that the modern urinal reproduces by using "runners" to sprout up new urinals.

As this is a recent find, I am open to other alternative explanations, so let's hear 'em in the comments!

Tuesday, January 18, 2011

Aryeh Cooks: Bagels

Disclaimer: I guess this is a good time to point out that the Aryeh Cooks segment is more of an Aryeh makes food segment.  So baking and any food preparation will apply.  With the disclaimer out of the way its time to enter the torus.

To begin this post about bagels I will talk about phyllo which has nothing to do with bagels and is not normally produced as a torus, but I digress.  I asked people to suggest what I should make for a future Aryeh Cooks (I do plan on attempting to do every suggestion) and Stacy suggested spanakopita.  Making spanakopita with store bought phyllo dough would be cheating, so I set out to make some.  The Greek mother-in-law of a friend of mine once offered to teach me, but I was in a rush to try it on my own and plowed ahead.  The phyllo dough I produced did not come up to my expectations, so spanakopita will have to wait until I can arrange a lesson with my friends mother-in-law.  In the meantime bagels happened.

Bagels are one of those things that most people would never even think to try and make.  Bagels are bought.  I tried making bagels once years ago, with very poor results.  I set out to do it properly.  Two recipes and three attempts later I was successful. 

The recipe is as follows:
 6-10 Cups of flour (high-gluten bread flour is better for this application, but not a neccesity)
4 Tablespoons yeast
6 Tablespoons of sugar
2 Teaspoons of salt
3 Cups of warm/hot water (the water should be hot but you should still be able to keep you hand in it comfortably)

I do not have pictures of the dough being made.  This is because I make dough by hand, which means that my hands are covered with dough and therefor not ideal for the operation of a camera.  However, I will give a quick explanation of how it is to be made.

Step 1: Mix the Sugar, water and yeast together and let it sit for 10 minutes to proof the yeast (this is to wake the yeast up and probably not necessary, but it is a ton of fun because the yeast expansion creates a very large head in the bowl it's mixed in.  Never forget about the fun in cooking).  This step allows the yeast to begin converting sugar and starches into carbon dioxide and alcohol. (What, you though I wasn't going to bring science into this? )

Step 2: Mix half the flour (3 cups) with the salt and then add into the liquids (Use the 6 cup estimate for this.  I overestimated the upper bound for the amount of flour because the amount you need will vary based on a number of conditions.  Two such conditions are humidity and how packed the flour is).  Mix well.  Now add about a cup of flour and mix.  This is the point where if you are making the dough by hand you should get them messy.  Keep adding flour until you can work the dough without bits of it staying stuck to your hands (this is the point where most bread doughs are done).  Then work in a bit more flour, you want a somewhat stiff dough.  (You will probably end up using around 8-9 cups of flour in the end.)

Step 3: Knead the dough for about 10-15 minutes (If you mixed the dough by hand you can take about 5 minutes off this time, as bringing the dough together by hand also kneads).  My personal preference is to keep folding the dough over and over again.  I take the dough and fold it in half, then I work it together and fold again.  I just keep repeating this process.  Kneading dough builds up gluten chains.  Gluten gives bread dough elasticity, which helps the dough in rising and gives bread its chewy quality.

Step 4: Cover the dough with a bit of oil and let it rise.  Keep the dough in a dry, warm (about 80 degrees Fahrenheit) place until it approximately doubles in size (about 45 minutes to an hour).

Step 5: Punch the dough down.  This is a bit of a misnomer as you don't want to actually punch the dough, you simply want to force the dough down.  I just push down on it with both hands to deflate it.

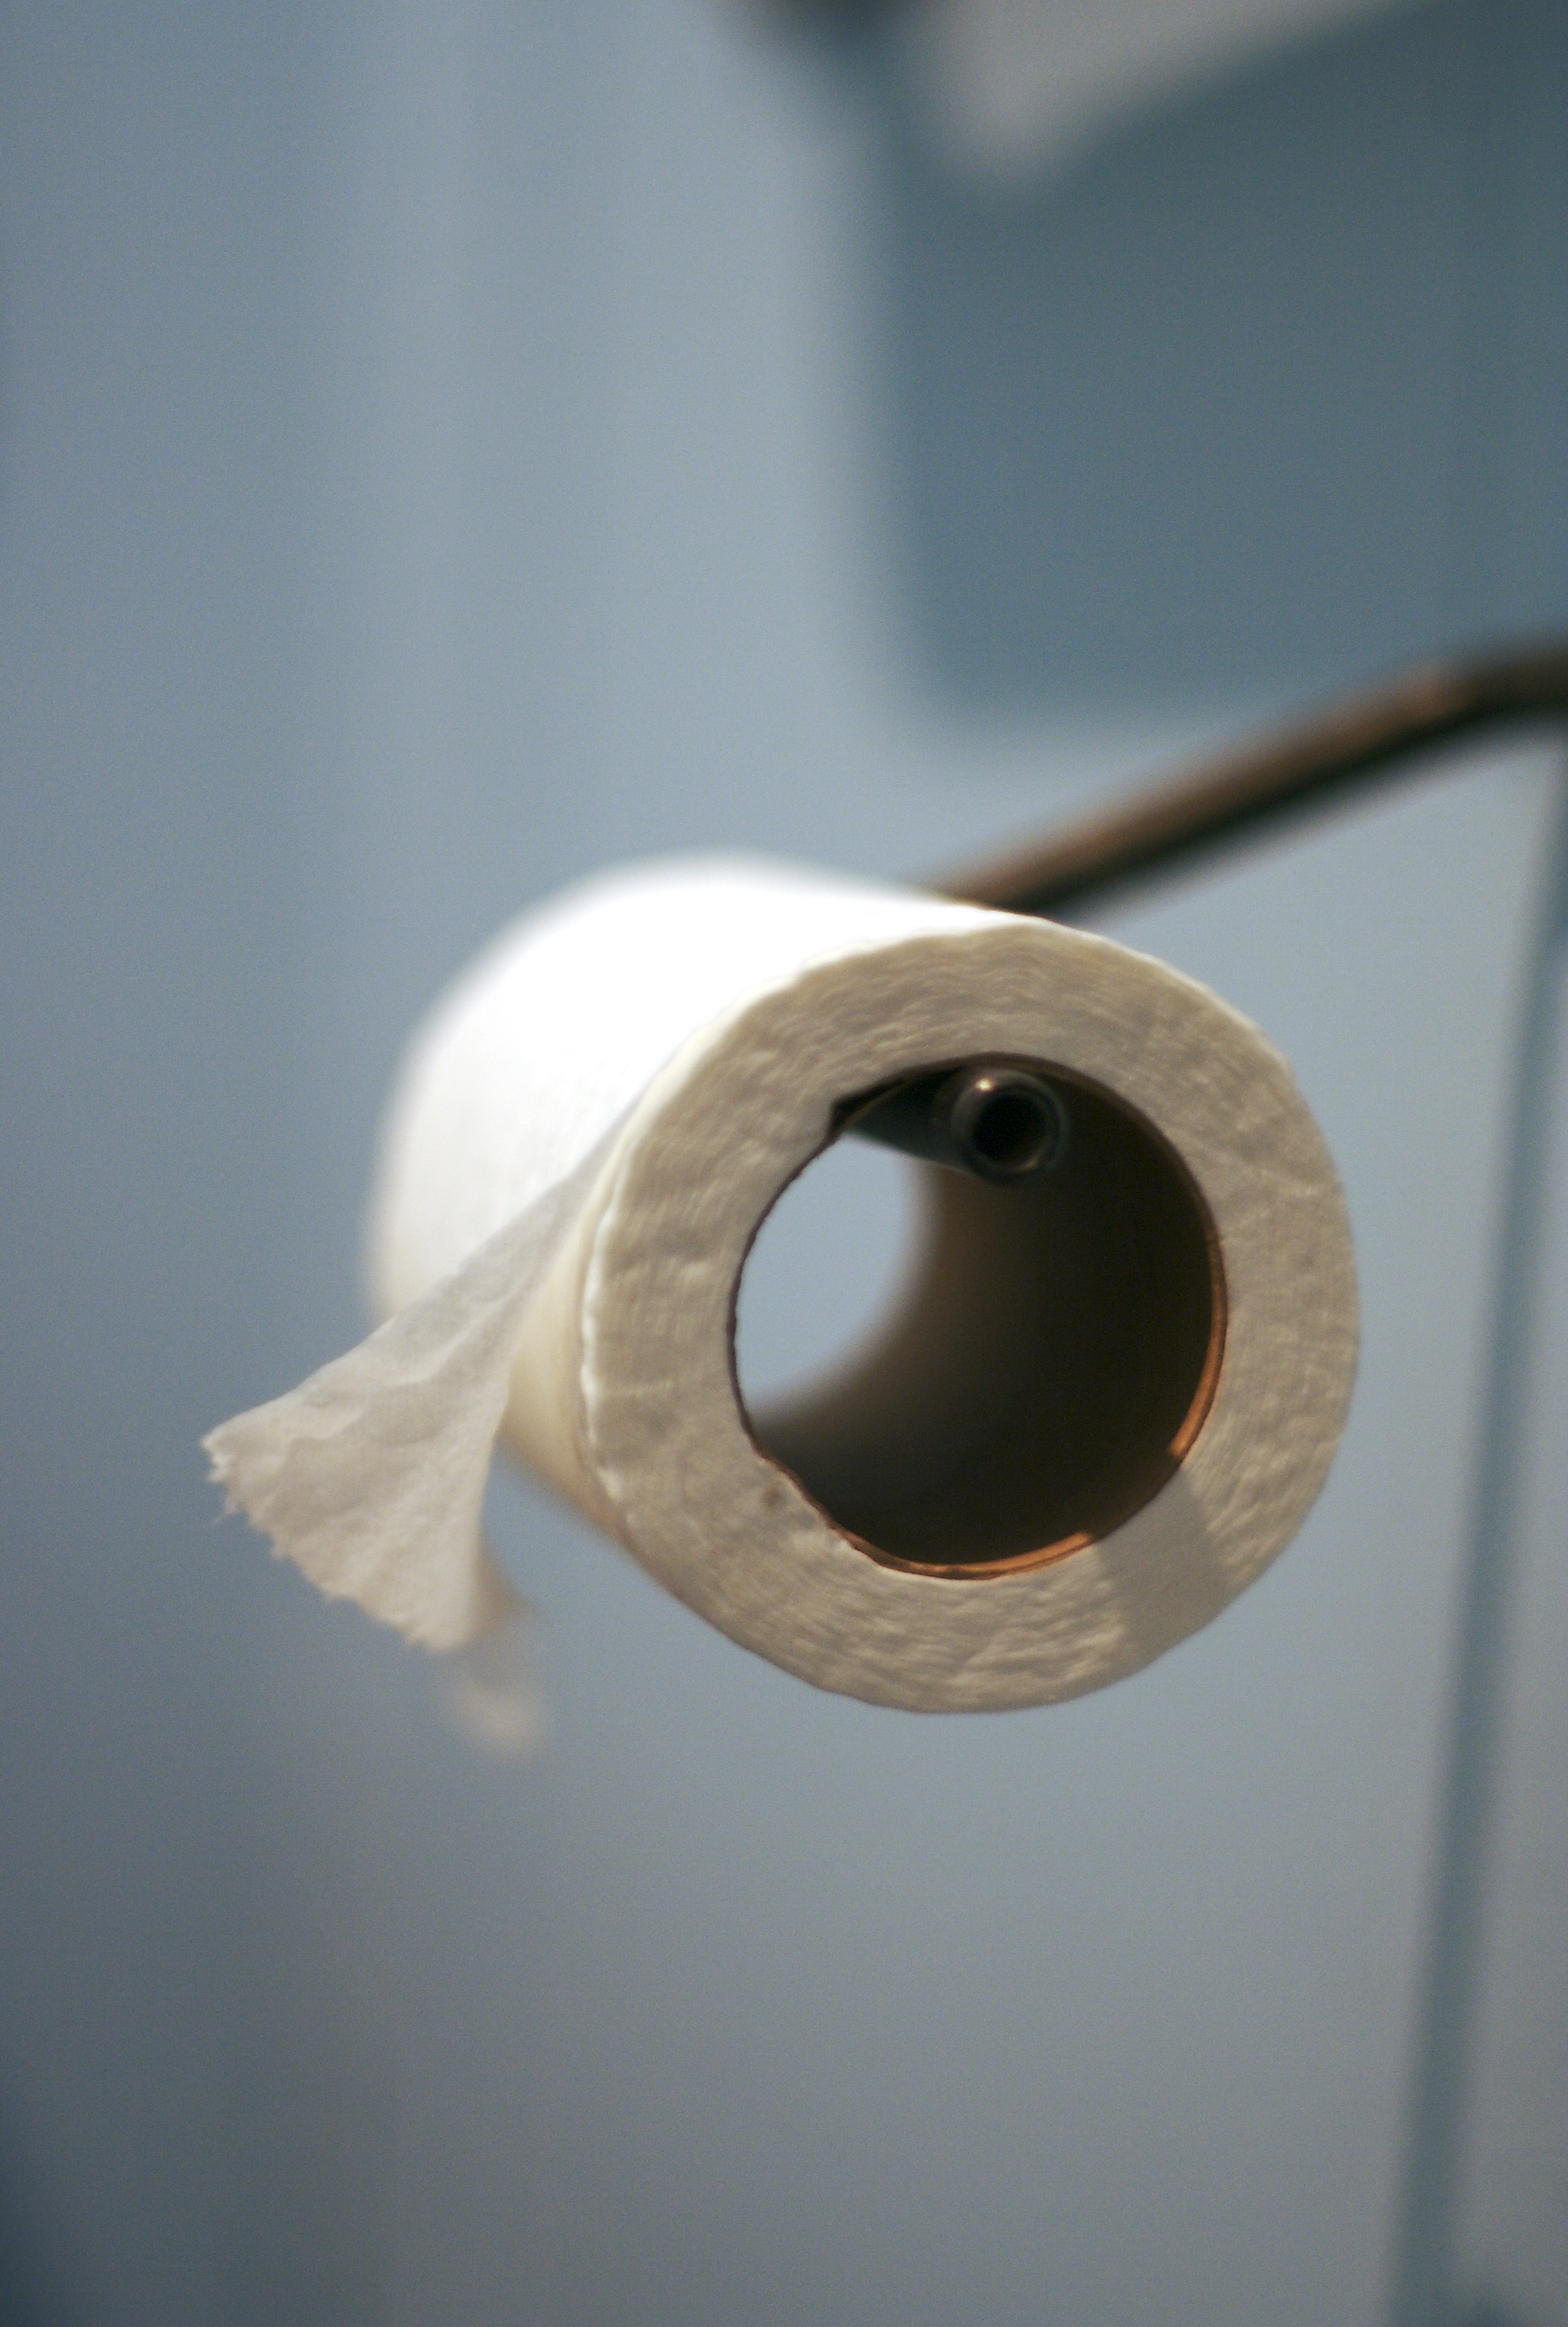
Step 6: Shape the dough.  This recipe will give you about a bakers dozen (13) bagels.  So start by separating the dough into about 13 pieces.  Then on to shaping.  There are two schools on shaping.  The first has you roll the dough into a snake and then bring the two ends together.  The second has you poke the hole through a ball of dough.  I subscribe to the second school.  Roll the dough into a ball, the smoother the ball the better it will come out.  Then simply force a finger through the center of the ball and make into a bagel shape.  Here is the important bit, don't shape the dough into a circular cross-section.  You want the bagel to be shaped like a length of hollow pipe with a thick wall, this is really important and if you don't do it your bagels will come out flat.  Additionally, you want the hole to be much bigger than you think it should be, the dough will rise and shrink the hole.  If the hole is to small the bagel will be mushy around the center of the hole.  Put the bagels onto a lightly oiled baking sheet, this allows bagels to come off easier when you are going to boil them and helps stop you from mauling them.

 
 I actually did not make the holes big enough.  Additionally, this picture was taken after the dough began rising again, so the cylinders have already begun filling out.

 Step 7: Half proof the dough, about 10 minutes.  This means you should leave the dough alone and let it increase in volume by about one quarter.  However, to simplify matters, just let the dough rise for another 10 minutes.

Step 8: Boil the dough.  I used a large frying pan, but you can use any pot or pan (I would recommend a wide vessel).  Fill the vessel with water and bring to a boil.  Add about 6 tablespoons of sugar (this adds a bit of a glaze and a bit of sweetness to the crust.  The sugar is not strictly necessary and you can skip it if you want).  Bring the water back to a simmer and add as many bagels into it as you can, without crowding.  Boil for about 2.5-3 minutes, then flip and boil for the same length of time on the other side.  The quicker you can boil all the bagels the better, because the longer they go before boiling the bigger they will grow and you want to avoid this.


 Step 9:  Move the bagels to a drying rack (I used the rack from my toaster).  Then one at a time place them onto a plate containing corn meal.  Then put them back onto the baking sheet (corn meal side down).  This is also the stage where you can add toppings.  Take the topping of your choice and put it on a plate, then simply take the side of the bagel without the cornmeal and put it into the topping.  The topping should stick and you are done (you can probably get a little better coverage by adding bits of topping by hand after you dip).


 Step 10: After you have all the bagels boiled put them into a 400 degree oven (that you have preheated of course).  Bake for 25 minutes, flip (the bagels not you) and back into the oven for another 10 minutes.

At this point allow the bagels to cool for about 10 minutes.  Cutting bagels straight out of the oven will result in a mauled bagel and you burning yourself.

 The very center of these bagels are mushy.  This is because the hole was not big enough.  When they where being boiled water was sucked up through the small hole and the center of the bagel was exposed to water for far longer then the rest of the bagel.  As a result the center absorbed a ton of extra water.  However they came out great with this one exception.  Next time bigger holes.

Step 11/Obvious:  Eat.

Don't forget to leave suggestions for what I should make on a future Aryeh Cooks.

Thursday, January 13, 2011

How to eat an orange

Growing up, I always had my oranges cut into sections this way:
This cut has the benefit of easy section removal,
but the disadvantage that you have a lot of the tough inter-section stuff (I'm sure there's a technical term) in each bite. This can be unpleasant to chew through, and often times you wind up with a hunk of this rough stuff and some bitter pith, with all the yumminess already extracted. This is sort of like cutting meat along the grain, with all the similar unpleasantness.

Stacy introduced me to a new way of cutting oranges:
It's brilliant! Each bite has only a small section, if that, of the unpleasant stuff, and there's easy access to the fruity juiciness with minimal chewing effort required.
 It's like cutting meat across the grain, with all the associated goodness!

Of course, there's always the fancy-pants way to cut an orange:
Here you can cut out each section, and only get the juicy bits, but there's a lot of waste and it takes a lot of time:
What is your favorite (or wackiest) way to cut up an orange?

Also, thanks to everyone who voted early and often for my Wolfram|Alpha Holiday Spikey. Thanks to all your help, I made it in 6th place out of hundreds of entries in the contest!

Tuesday, January 11, 2011

Parental Snow Day

With snow once again coming down outside (4th time in 2 weeks) I find myself recalling a snow storm from last year.  I believe it was a Friday morning, having snowed overnight, and I went out clearing snow as I always do.  I do not recall how long I was out for, but when I got home I could not find my parents.  I was rather confused, I knew that they where both home, but they where not in the house.  At some point I happened to look out the window and found this.


My parents where in the backyard building an igloo.  In the olden days me and my brothers used to get together with friends and build igloos whenever there was enough of the right kind of snow.  We built an igloo pyramid, we built a double igloo, we even built an igloo with power.  The tables had turned, now it was my parents turn.  Soon enough we will have Moshe be a third generation igloo builder.

Sunday, January 09, 2011

Bostonians can't drive

Why can't Bostonian's drive in the snow ... please people!


How was I supposed to get home that night?

See how the traffic is now.

Thursday, January 06, 2011

Stew of Wheat

Stacy recently bought a bag of wheat from an "Ethnic" food market.  It included a helpful recipe, written in flawless Engrish:
I wonder what language translation service they used for this. And what was the original language. If any readers are fluent in Spanish, is this Spangrish?

Tuesday, January 04, 2011

Frozen Winds

A couple of weeks ago I blogged about a localized whirlwind outside of the Rutgers Engineering Building.  Additionally, as I am sure you are all aware we had a big snowstorm last week.  I happened to be in the engineering building a couple of days after the storm which, as those of you who experienced it know, was very windy.  I decided to take a look to see what the corner had to show for itself.

This view is from a different angle from those I took before.  However, due to the dust in the wind we have an excellent view of the contours of the eroded snow.

This close in you can really see the contours in the snow.  Additionally, you can see where the airflow drastically slowed down or stopped from the increased deposition of dirt particles; darker means slower.

I step closer and you can see the power of wind.  If you see rock in a similar formation it was eroded by wind and water.  On the left side of this image is the outer edge of the whirlwind and you can see the concave indention into the snow from the spinning wind.  This was only a few days after the snowstorm so there was still plenty of snow on the ground, but not in the region of the whirlwind.

Now one step closer.  You can really see the streamlines of the airflow across the snow.  These are the distinct tracks of dirt in the snow which is a relativity accurate visualization of the winds velocity field.  

I would recommend you actually click on the pictures to see them in all their glory.  I wanted the images big for the drive by viewer, but as a result they are somewhat cropped.

Sunday, January 02, 2011

The greater than average snow event of 2010 Part 3/3

Now continuing from Aryeh, and Eli, I will add my part to documenting the last puny snow event of 2010.

At least Boston got a decent amount of snow this time. Unlike the last NJ blizzard last time NJ got snow. See this massive parking lot glacier.

And I was finally able to use my snowshoes again. These are the day-old tracks left in the snow from the first time I walked around the lake.


This is a view over the semi-frozen lake of the waterworks museum at chestnut hill. It opens in March ... and you will hear more about it on this blog later.

This photo is really pushing the limit of my camera (ISO max 400, shutter speed min 15 seconds). More modern cameras can go up to ISO 3200. Wow, maybe its time for a new one...


Changing this picture and the next one to black and white essentially changed nothing! What a gloomy day!


Here you can see the tracks of the rare tree-scaling snow rabbit.