
 This is from a little more than year ago.
 And this is from now.
 Once again from a year ago.
 And this of course is from now. Kunal looks exactly the same, he even is wearing the same hat.
 This is from a little more than year ago.And this is from now.Once again from a year ago.And this of course is from now. Kunal looks exactly the same, he even is wearing the same hat.
 It is about three feet long, and powered by two ducted fans. I have to slightly modify the front landing gear so that it tracks straight and then flying time. I will post pictures and videos of course (assuming someone is there to do it for me, I will be flying after all).
 This is the 3/4 scale model of the front section of the aircraft, the design has changed a bit since the model was initial built. However, the model took around 100 hours to build in a FDM (fused deposition modeling) rapid prototyping machine, so we did not have time to make another (also the model was screwed up 3 times due to power failure, one of which I spoke of here and here).
 This is the entire set up as we ran the experiment. The experimental method we used is called PIV (Particle Image Velocimetry). It consists of a laser (green square, class 4 laser running at around 125-145 mJ and 532 nanometers wavelength) that is run through a series of optics (light blue square, spherical and cylindrical lenses) that makes the into a thin sheet. Then a mirror (yellow square) reflects the laser sheet around the model and a camera (red square, CCD camera) takes two pictures very close to each other timed to coincide with the lasers pulses with a time difference of in our case 2500-6000 microseconds so around 2.5-6 Milli seconds. The two pictures show illuminated seed particles (in this case I believe we where using glass beads, with a diameter of around 4 microns). Then computer software compares the two images and based upon where the particles moved to it creates a plot of the vector field, and vorticity.
 This is the model as it looks before we had to invert it to get it in the right place with regards to the laser sheet.
 This is what the whole set up looks like from the top, the only thing I haven't mentioned is the sychronizer, which synchronized the laser and the camera.
 This is the kind of vector field you get, in this case it is the mean velocity field from 50 individual vector fields. Note the stagnation point at 1.5 inches on the bottom axis (a stagnation point is a point where the flow speed is zero).
 In the mean velocity plot for the 15 Hz pump speed the flow is moving a lot slower and as a result the stagnation point is now much farther to the right at pretty much the edge of the image. Also, there are two distinct vortexes (see if you can find them, one is a lot easier than the other. Hint: the shear layer/boundary layer propagates from where the flow separates from the sphere of shot to the left to the fuselage on the right) this indicates that for the slow flow there is a steady state solution.
 This is what one of the instantaneous velocity fields looks like, there where 50 of these to make the average field in the image above. You can see a vortex in the approximately the same place as in the mean velocity plot and its pair.
 Sorry there is no scale on this graph, also sorry about it not being bounded properly. At (0.75, 1.4) and at (1.25, 1) there is a clear vortex pair. A vortex pair consist of two counter rotating vortexes (see this animation).
 This is me standing on a F-14
 Propeller on an E-2 Hawkeye
 Me sticking my head out of the cockpit of an E-2, it was really cool I just had to pull open the hatch on the top of the cockpit.
 In the cockpit of the E-2
 This is the set up in the back of the E-2
 F-4 phantom
 This is what is inside and F-4 Phantoms cockpit
 The museum is located on an airfield, and this was a bulletin board in the main building for the airport.
 Just for fun
 Finishing with a what the heck is that thing, we passed this right after we left the museum. An guesses as to what it is?
 Pasha and Me with Space Ship One.
 The Soviet moon suit design.
 The life support system on the Soviet moon suit, notice the piece of wood.
 This is me taking a picture of the Capitol building and friends, it just happened that Pasha was taking a picture of the Washington monument. As luck would have it he got this picture.
 This little guy gets a decent amount of thrust so we had to tie it to the table behind it so it couldn't run away.


 Launch Control, if you look in front of me you will see the rod with the rocket on it even though it camouflages with my shorts.
 Launch Control by the end of the day, you can see the scorched ground below the laucnh rod. Also, you can see some of the sticky sugar from the fuel stuck to the rod. I would like to make sure it is clear that we had my mothers permission to do this, and she watched on all our launchs.
 These are four more engines I have made since that day. The two on the left are black powder, the one second from right is mostly sugar fuel with a bit of black powder (I ran out of sugar fuel) and the one on the right is all sugar fuel.

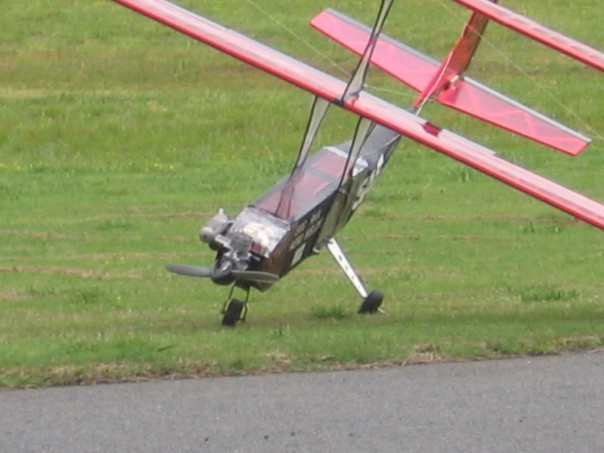 OOPS!!!
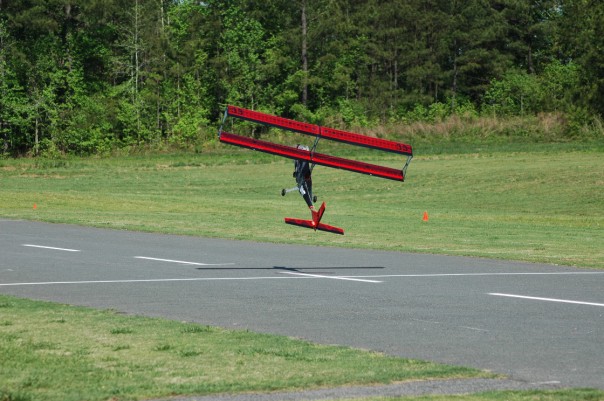 Houston we have lift off!
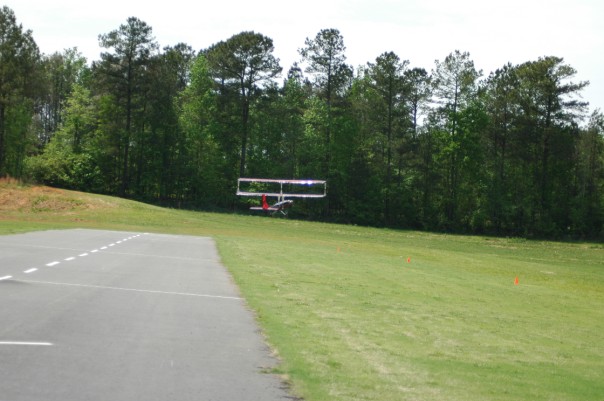 Yeah!
Yeah!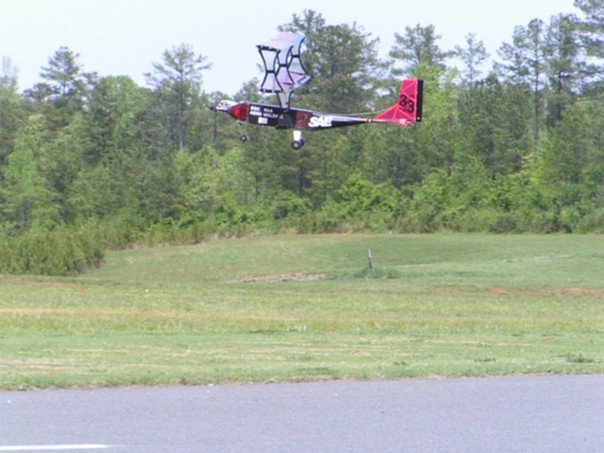 See it did actualy fly in the end.
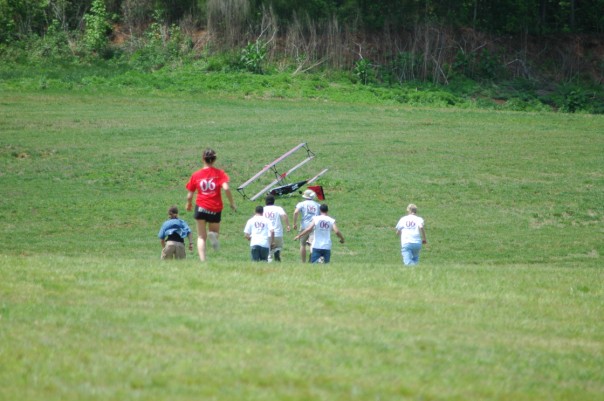 So ended the build a plane odyssey for this years graduating seniors.
In the past I mentioned a club that I was in called the AIAA. In this previous post I talked about how I won a build your own airplane competition. Now the club is building a real airplane, it is a biplane with each wing being just short of 8 feet. I helped build and it is rather cool. Here are the current pictures of the plane.
I must also thank notelon for his informing me of my calculation error in last weeks post. Each student only gets 200 megabytes not 100 gigabytes this changes all the numbers by three orders of magnitudes.
Here is the text of his email telling me this (Colonel Henry is the name they give the answer this email address at Rutgers)
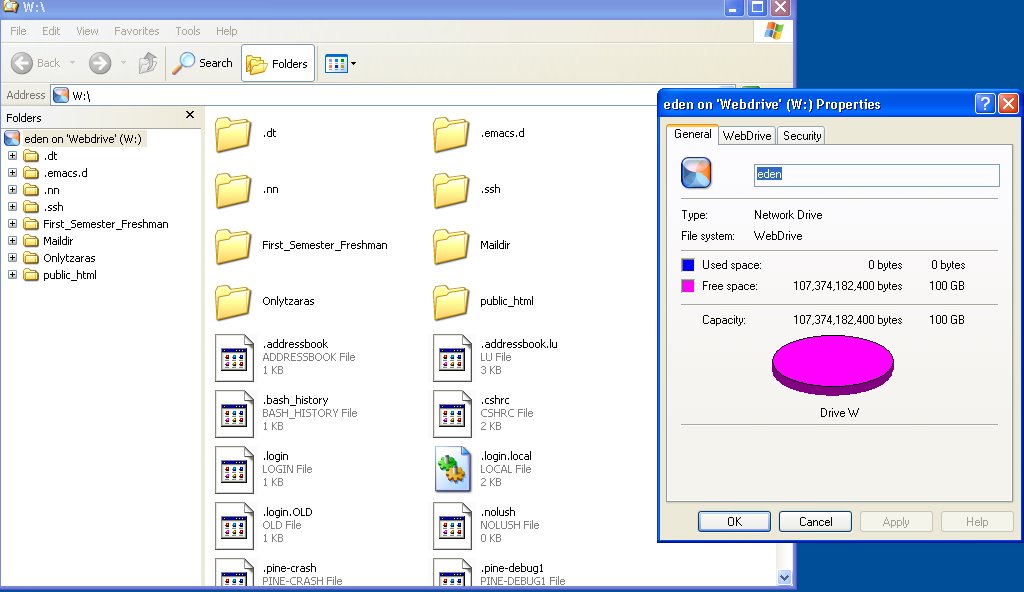
Question:This is the picture that made me think that Rutgers gave us 100 gigabytes.
What is the maximum number of megabytes of space available per Eden Account?
Answer:
Hi,
Students are allowed a total space of: 200MB
Thank you for emailing Colonel Henry
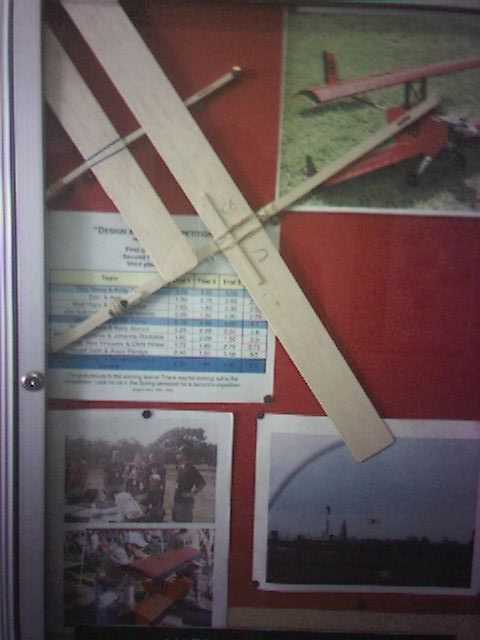 (The smaller one top left is the first, the bigger one with the U2 on it is the recent one)
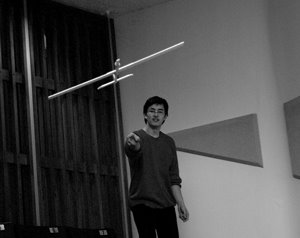 And of course here is the link to the actual article.


